
 English
 Português
 Español

A wheel that is hot to the touch after a short drive, a car that pulls left under braking, or a pad worn to the backing plate on one side of the axle while its partner still has 4 mm of friction material left — these are caliper faults, not pad faults. Fitting new pads over a piston that will not retract simply drags, overheats and wears out the new set within a few thousand kilometres.
The practical rule: replace the caliper when it binds, leaks or has a corroded bore, and order the part by OEM number plus axle side rather than by model name alone. What follows explains what fails inside the unit, how to confirm the diagnosis, and which checks on the replacement actually prevent a comeback.
What actually fails inside a caliper
A floating caliper does three jobs at once: it holds the pads square to the disc, it slides on its guide pins so the outboard pad can be loaded, and its piston turns hydraulic pressure into clamping force. Each job has its own failure mode, and each behaves differently in the workshop.
The piston seal is a square-cut O-ring sitting in a groove. It distorts under pressure, and when pressure is released its own elasticity pulls the piston back by a few hundredths of a millimetre — that is the entire retraction mechanism. Once corrosion builds up in the bore above the seal line, the piston can still be pushed out but no longer returns. The result is drag, heat, and a pad that wears out on one side only.
Guide pins fail more quietly. Their grease washes out or dries, the rubber boots split, road salt gets in, and the caliper stops floating. The inboard pad then takes most of the load while the driver notices nothing until the pedal starts to feel long or the disc turns blue.
Signs that justify replacement rather than a rebuild
Rebuilding only makes sense when the bore is clean, round and free of pitting. On a ten-year-old daily driver in a salt belt that is rarely the case, and honing a pitted bore to fit new seals will leak again within a season. Where the symptoms below match, price a replacement unit instead of a repair kit. For the earlier stage — noise, dust, a slightly longer pedal — our notes on when brake calipers need replacing go deeper before the point of no return.
| Symptom | What it usually indicates | Correct action |
|---|---|---|
| One pad worn far more than the other on the same axle | Guide pins or slides seized; caliper no longer floats | Replace caliper, renew pins and boots |
| Wheel hot after a short drive, drag when coasting | Piston not retracting, or a collapsed flexible hose | Check hose first, then replace caliper |
| Fluid at the piston boot or on the caliper body | Piston seal failure | Replace; do not rebuild a corroded bore |
| Vehicle pulls to one side under braking | Uneven clamping between left and right | Compare both sides before ordering |
| Long pedal that recovers after cooling | Fluid boiling at the caliper; moisture in the system | Flush fluid, then re-test the caliper |
| Handbrake lever travels much further (rear units) | Worn integrated parking mechanism | Replace the integrated caliper as a unit |
Match the OEM number before you match the model name
A model-year lookup gets you close; the OEM number gets you right. Calipers change mid-cycle, and a facelift, a different rear brake option or a sports package can put two different units under the same badge. Left and right are separate part numbers as well, and the bleeder screw must sit at the top once fitted — mount the wrong side and the caliper cannot be bled no matter how long you pump.
Interchange lists matter as much as the primary number. Many castings carry several cross-references, and a supplier that publishes the full list saves a return and a phone call. Two examples from our own catalogue: the Honda unit 43018TA0A01, and the Ford unit 8M5Z2552B, which distributors often order against a different primary number because they started from the vehicle rather than the casting.
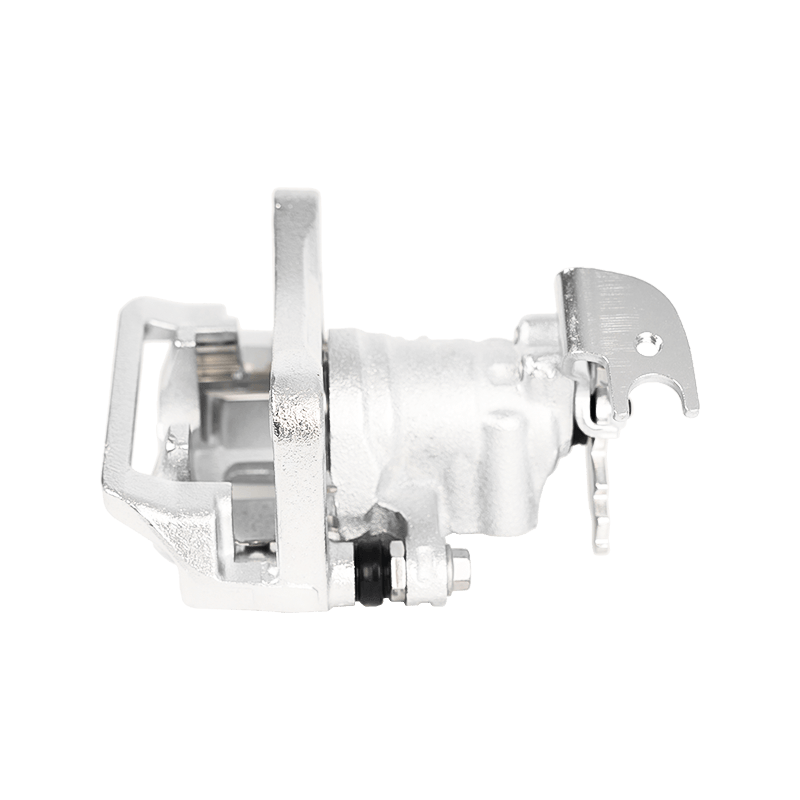 Honda 43018-TA0-A01 Brake Caliper for Accord 8Iron-body 38.18 mm caliper for Honda Accord 8, listed as a catalogue interchange example; confirm OE number, axle and left/right position before ordering.View Product →
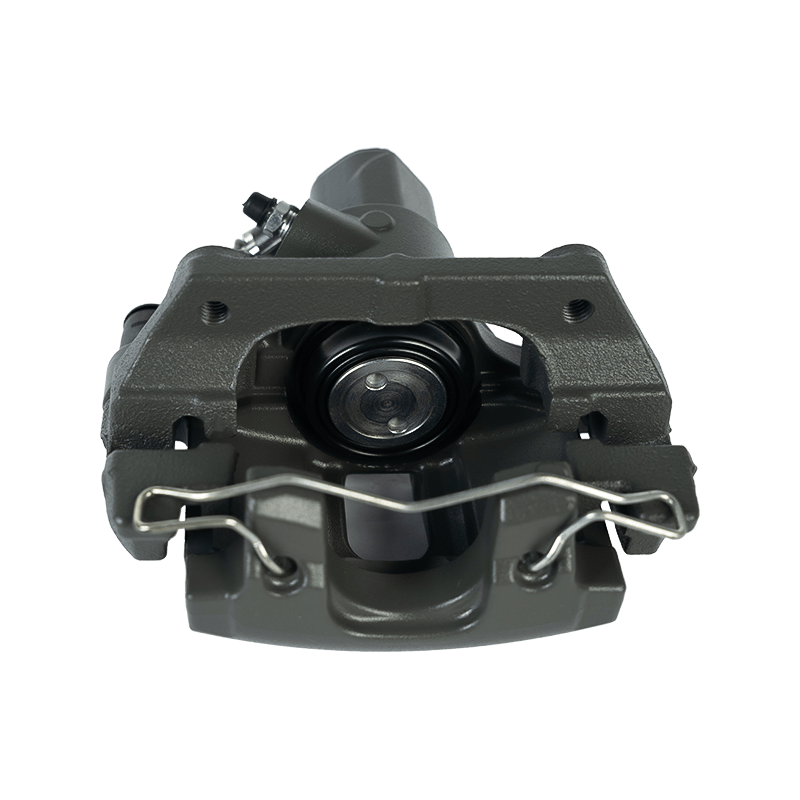 Ford 8M5Z2552B Aluminum Brake Caliper for C-Max and EscapeAluminum 38 mm caliper for Ford C-Max and Escape, one of the Ford interchange examples; confirm OE number, axle and side before purchase.View Product →
Fitting steps that decide whether the job lasts
Most premature caliper failures are installation failures. The sequence below is the one that keeps the unit working past the first winter.
- Support the vehicle on stands on level ground and turn the wheel to full lock for access; never work under a jack alone.
- Crack the bleeder screw before removing the hose — a screw seized in a new casting is an avoidable comeback.
- Disconnect the banjo union into a container, cap the hose end, and hang it rather than letting it stretch.
- Clean the bracket, then inspect the slide pins and boots. A new caliper on worn pins seizes within months.
- Fit fresh copper washers on the banjo union and torque both the union and the bracket bolts to the vehicle's own service data — the two figures are nothing alike and both are commonly over-tightened.
- Lubricate pins and pad abutments with high-temperature silicone grease, not copper grease, which dries and cakes.
- Bleed in the correct sequence, longest hydraulic line first, or use a pressure bleeder; a pedal-pump bleed on an ABS-equipped car often leaves air in the unit.
- Pump the pedal until pads contact the disc before moving off, then bed in with a series of moderate stops rather than one hard emergency stop.
Replace in pairs, and treat the fluid as part of the job
A freshly rebuilt caliper clamps harder and faster than a twelve-year-old unit on the opposite side, which shows up as a pull under hard braking. Most workshops quote per axle and most distributors stock left and right as a pair.
Fluid belongs in the same conversation because caliper pistons sit at the hottest end of the hydraulic circuit. DOT 3, DOT 4 and DOT 5.1 fluids are hygroscopic, and the wet boiling point measured after moisture absorption is dramatically lower than the dry figure printed on the bottle. Fluid that boils inside the caliper creates vapour, vapour compresses, and the pedal goes long until everything cools down again.
What buyers should verify before ordering in volume
For a distributor or a workshop chain, the caliper itself is only half the purchase decision. The other half is what happens eighteen months later, when the first warranty claim lands.
- Bore finish and piston coating: a smooth, correctly plated piston matters more than a painted exterior.
- Seal compound: EPDM compatible with DOT 4, not a generic nitrile that swells in service.
- Bleeder screw seat quality, since a leaking screw is a guaranteed customer complaint.
- Corrosion coating performance and documented salt-spray results for the target market.
- R90 or equivalent approval paperwork for European sales, and IATF 16949 process control for OEM programmes.
- Interchange accuracy: one wrong cross-reference in a printed catalogue costs far more than the part.
- Left and right availability, and consistent packaging for own-brand labelling.
Our own production covers roughly 7,000 hydraulic part numbers alongside 1,000-plus brake shoe and pad references, with European, American, Russian, Japanese and Korean applications supplied to more than 30 countries under ISO 9001 and IATF 16949, with E-MARK R90 and AMECA certification on core lines. For track, modified and big-brake conversions, units are specified by disc thickness and piston area rather than by OEM fitment — the BB04013501100 caliper is a typical example of that route.
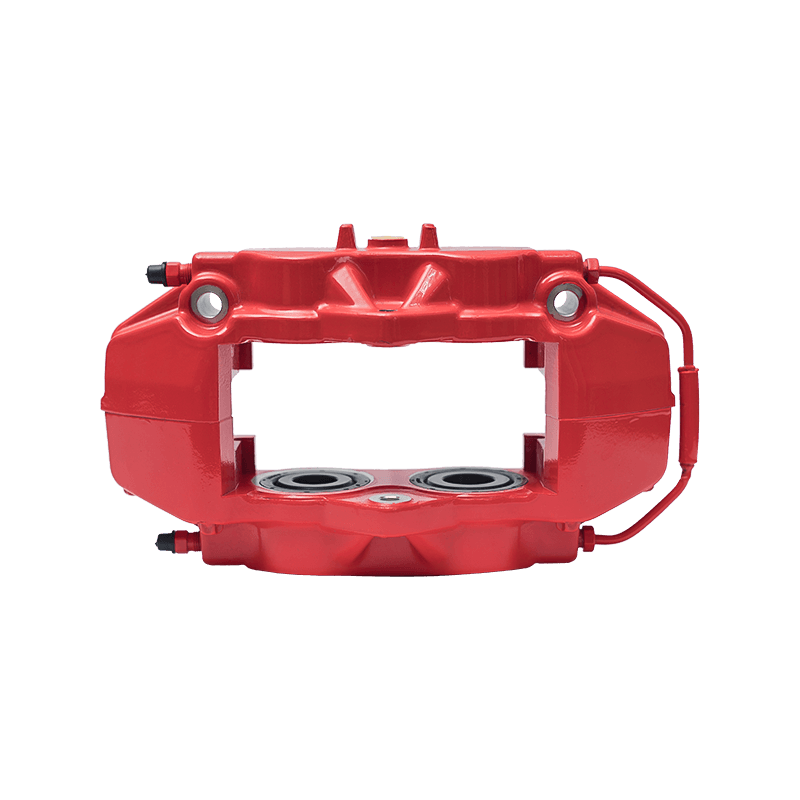 BB0401-3501100 Aluminum Brake Caliper for Modified VehiclesAluminum caliper with 41.3 mm and 38.1 mm pistons for modified-vehicle use, specified by piston area rather than OEM fitment; confirm details before ordering.View Product →